Turn your website into a downloadable phone app.
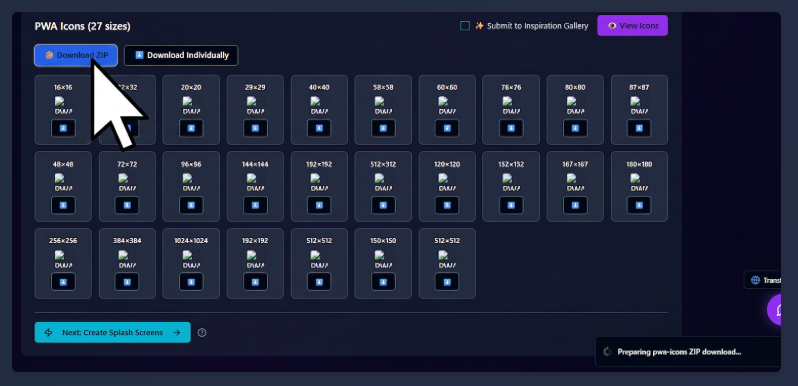
Imagcon is an AI app icon generator built for vibe coders using Cursor, Lovable, Bolt, v0, Replit, and ChatGPT. Describe your icon in plain language and get deployment-ready files in about 30 seconds: 27 PWA icon files with maskable variants, an Xcode-ready AppIcon.appiconset, Android mipmap folders, manifest.json, and 16 iOS splash screens. Powered by Google Imagen 4 on Vertex AI for generation and Gemini on Vertex AI for image editing.
New to the product? Follow the visual workspace walkthrough or read the AI and API guide for agent integration. Compare plans on our pricing page.
How it works: close the icon gap
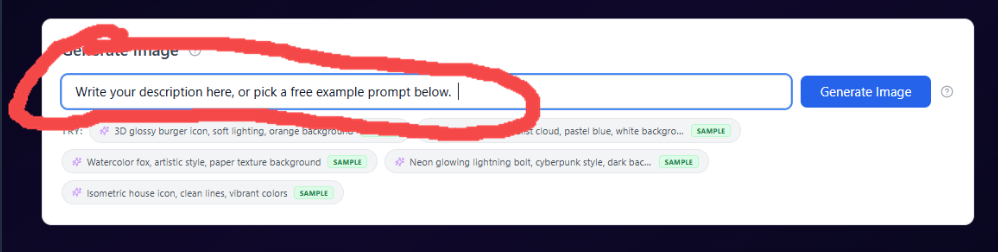
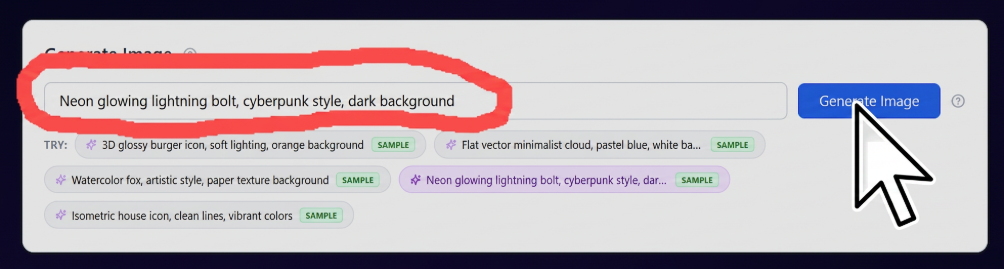
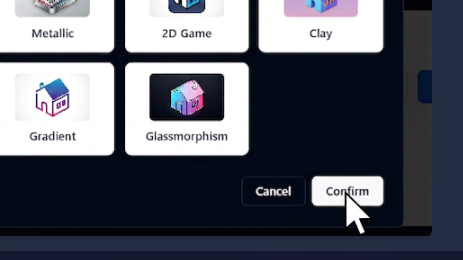
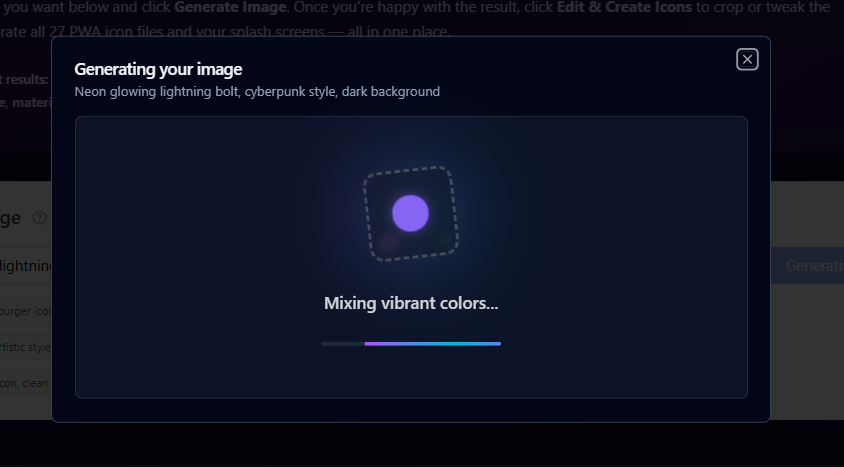
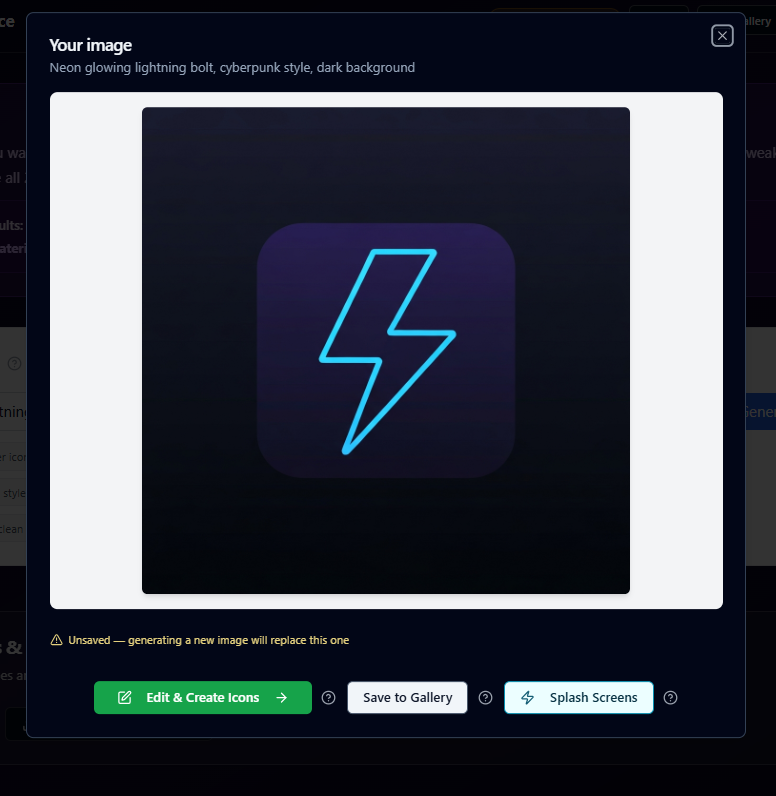
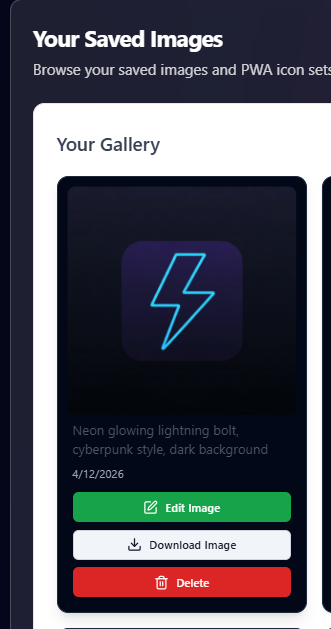
Coding assistants like Cursor and Claude excel at application logic, but they cannot produce the 27 specific image files a Progressive Web App requires. They may tell you to update manifest.json without supplying maskable icons, Apple touch icons, or Android adaptive layers. Imagcon closes that gap: enter a text prompt, click Generate Image, pick a style preset in the modal (Flat, Metallic, 2D Game, Clay, 3D, Gradient, or Glassmorphism), confirm, and download a ZIP wired for Lighthouse and app-store submission.
The workflow is prompt first, style second — never the reverse. After generation you can refine icons in the Image Editor with natural-language AI edits, then export a complete bundle. For exact pixel requirements see the PWA icon size reference and the installation guide.
Agents can automate the same pipeline via the Imagcon MCP package documented at blueprint.txt (Blueprint Protocol v3.0.0). Google documents Imagen 4 at Vertex AI image generation.
Free tier and credits
Every account includes five lifetime custom AI generations, three lifetime full PWA icon set exports, and unlimited workspace sample prompts — no credit card required. Upload, crop, text overlay, and drawing tools stay free. Paid one-time packs (Starter $5 through Studio $39) add credits that never expire; each credit covers five AI generations or edits, or one full icon set, splash set, or single PNG download. Full rules are on pricing and in the FAQ.
FAQ: PWA icons and AI generation
What icon sizes do I need for a PWA?
You need 27 icon files covering PWA manifest icons (192×192, 512×512, and more), Android adaptive maskable versions, iOS App Store sizes from 16×16 to 1024×1024, and splash screens for common device dimensions. Imagcon generates all of them automatically in one download.
What is a maskable icon?
Maskable icons include extra safe-zone padding so Android launchers can crop your artwork into circles, squircles, or rounded squares without clipping important details. Imagcon ships both standard and maskable variants.
How many free icons can I generate?
Five free lifetime custom AI generations, three free full PWA icon set exports, and unlimited workspace sample prompts — no subscription and no credit card.
Can I use these icons commercially?
Yes. Icons you create include a full commercial license for client work, SaaS products, and mobile apps.
More answers: full FAQ · compare PWA icon generators · inspiration gallery