-
1
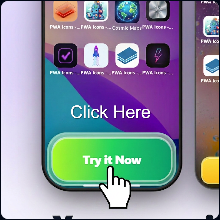
Get started
From the app home, open the workspace to begin creating icons.
-
2
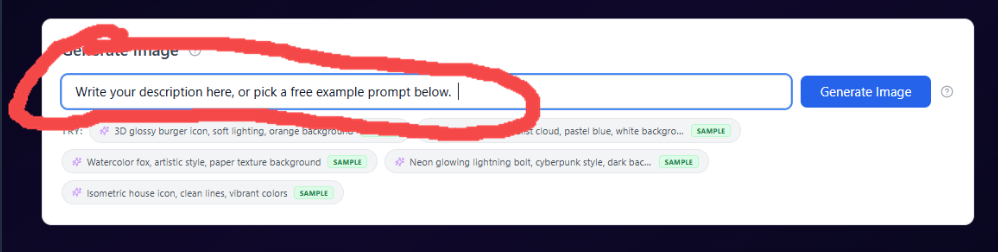
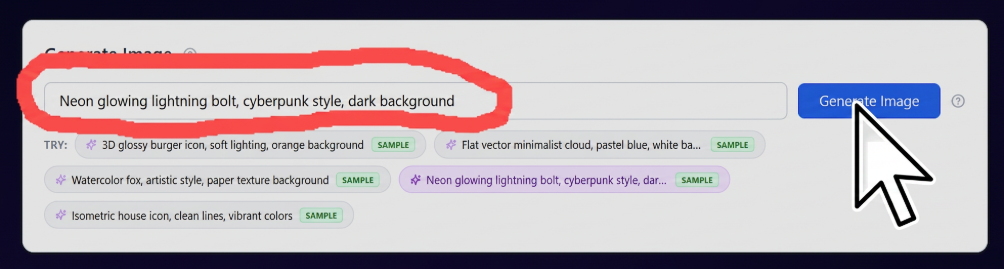
Describe your icon
Use the prompt field, or tap a free sample chip — then click Generate Image.
-
3
Refine your prompt
Type a full description or select a sample so the field shows exactly what will be generated.
-
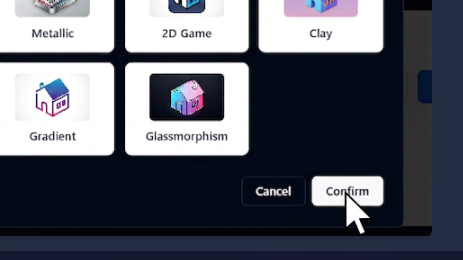
4
Choose icon style
Pick a preset (Flat, Metallic, Clay, Glassmorphism, etc.) — it is blended into your prompt.

-
5
Confirm style
Review your choice and confirm to start generation.
-
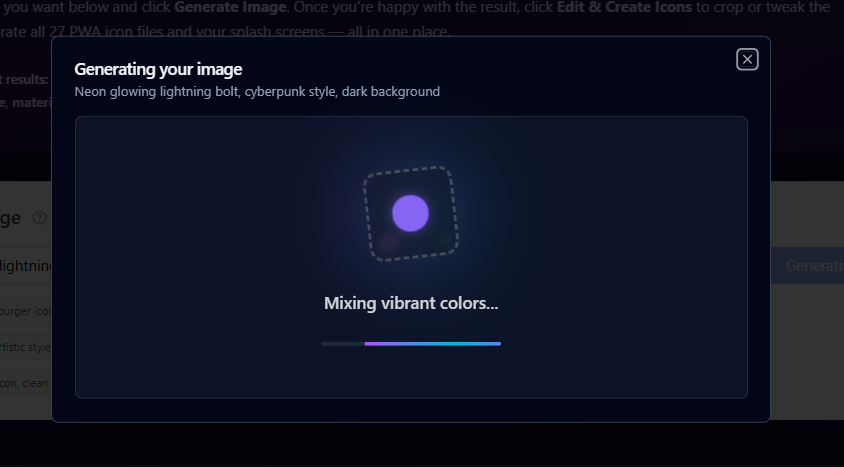
6
Wait while it generates
The modal shows progress while your image is created.
-
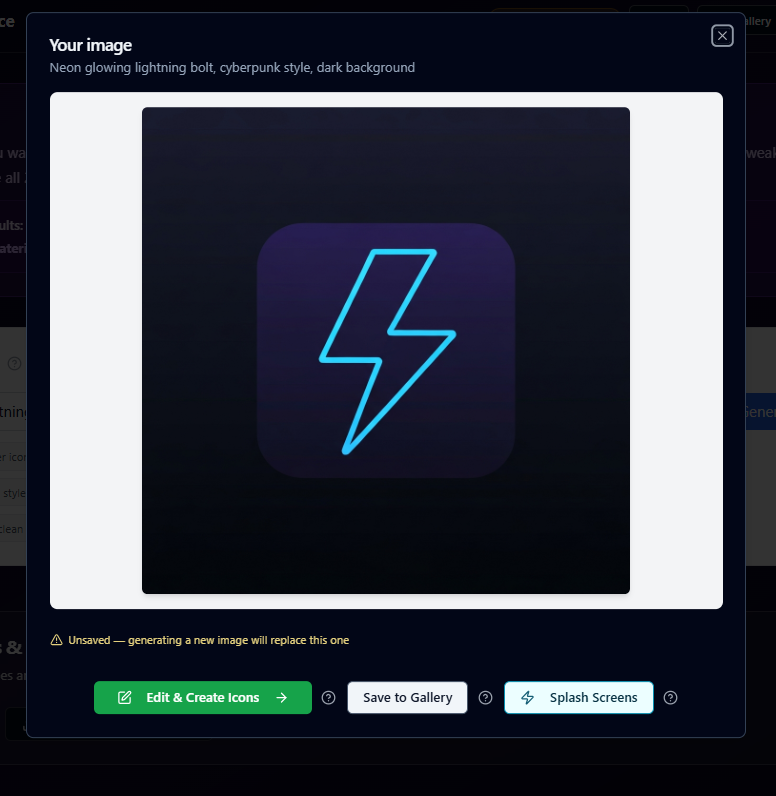
7
Review your image
When ready, your icon appears with options to edit, save, or open splash tools.
-
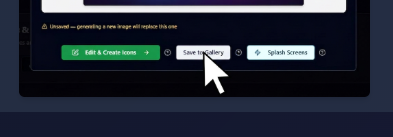
8
Save to gallery (optional)
Save so this image stays available — new generations replace an unsaved result.
-
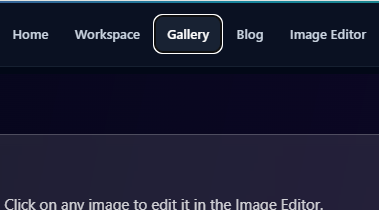
9
Open Gallery
Use the nav to Gallery to see saved images and jump to the Image Editor.
-
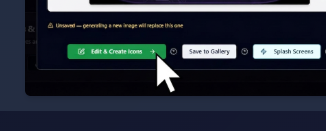
10
Edit or export next
Use Edit & Create Icons for PWA/iOS/Android sets, Save to Gallery, or Splash Screens.
-
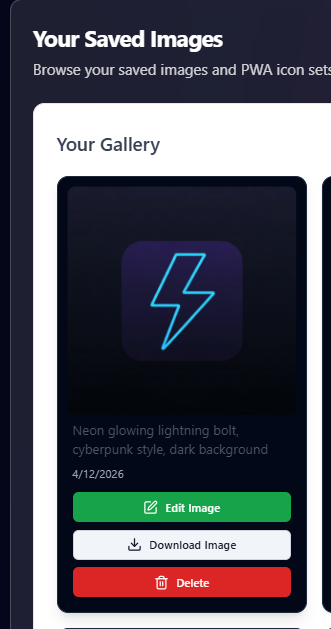
11
Manage saved images
In Your Gallery, edit, download, or delete any saved image.
-
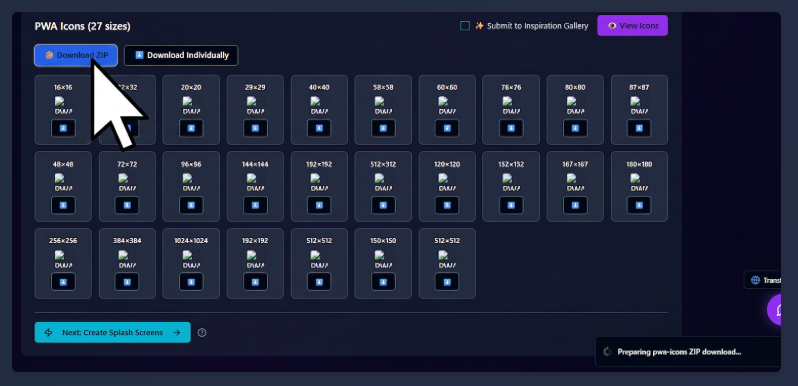
12
Download PWA icons
Generate all 27 sizes, then Download ZIP (manifest and icons included).